How To Setup The Cloudflare DKI Plugin
NOTE: The Cloudflare DKI solution is only available for folks on the Solo+ or Agency plan.
Get ready to elevate your Cloudflare game! Your first step is to download the all-powerful Cloudflare-DKI files.
Next, log in to Cloudflare.
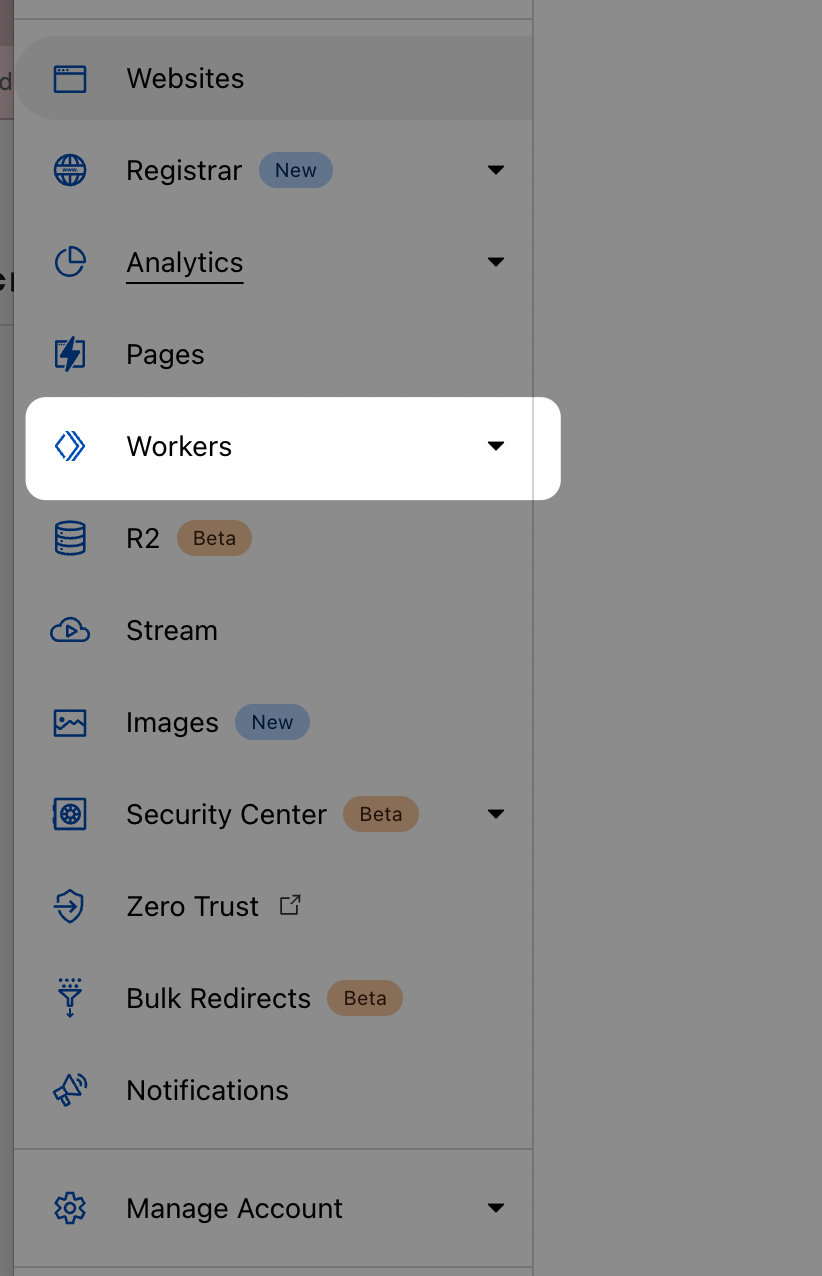
The left-hand menu is your gateway to the Workers section, where you'll find everything you need to start.
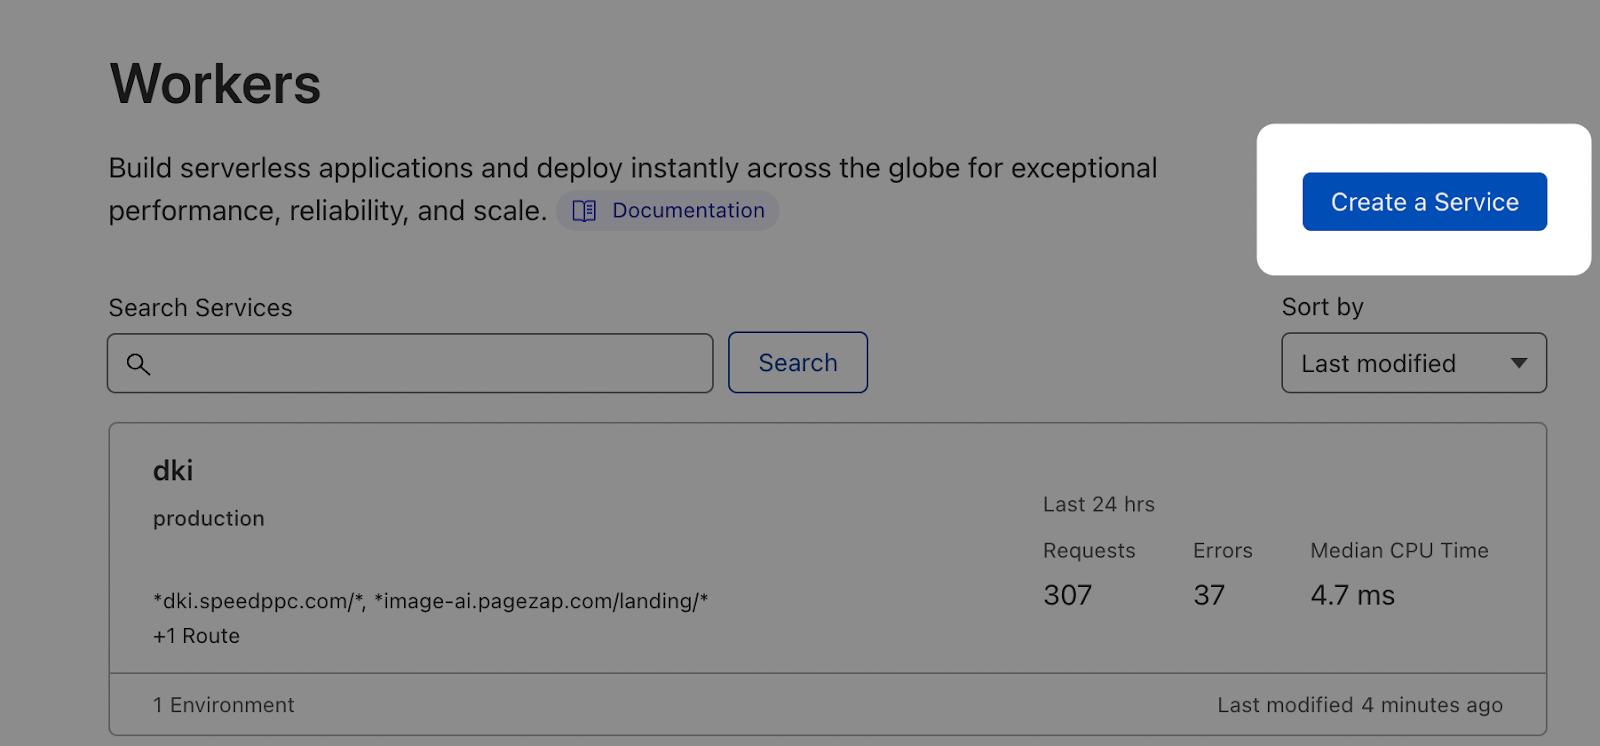
Ready for action? Click on the "Create a Service" button to start your journey.
Give your new creation a purposeful name and select the "Introduction (HTTP handler)" option. You're now just a few clicks away from unlocking a new level of Cloudflare potential!
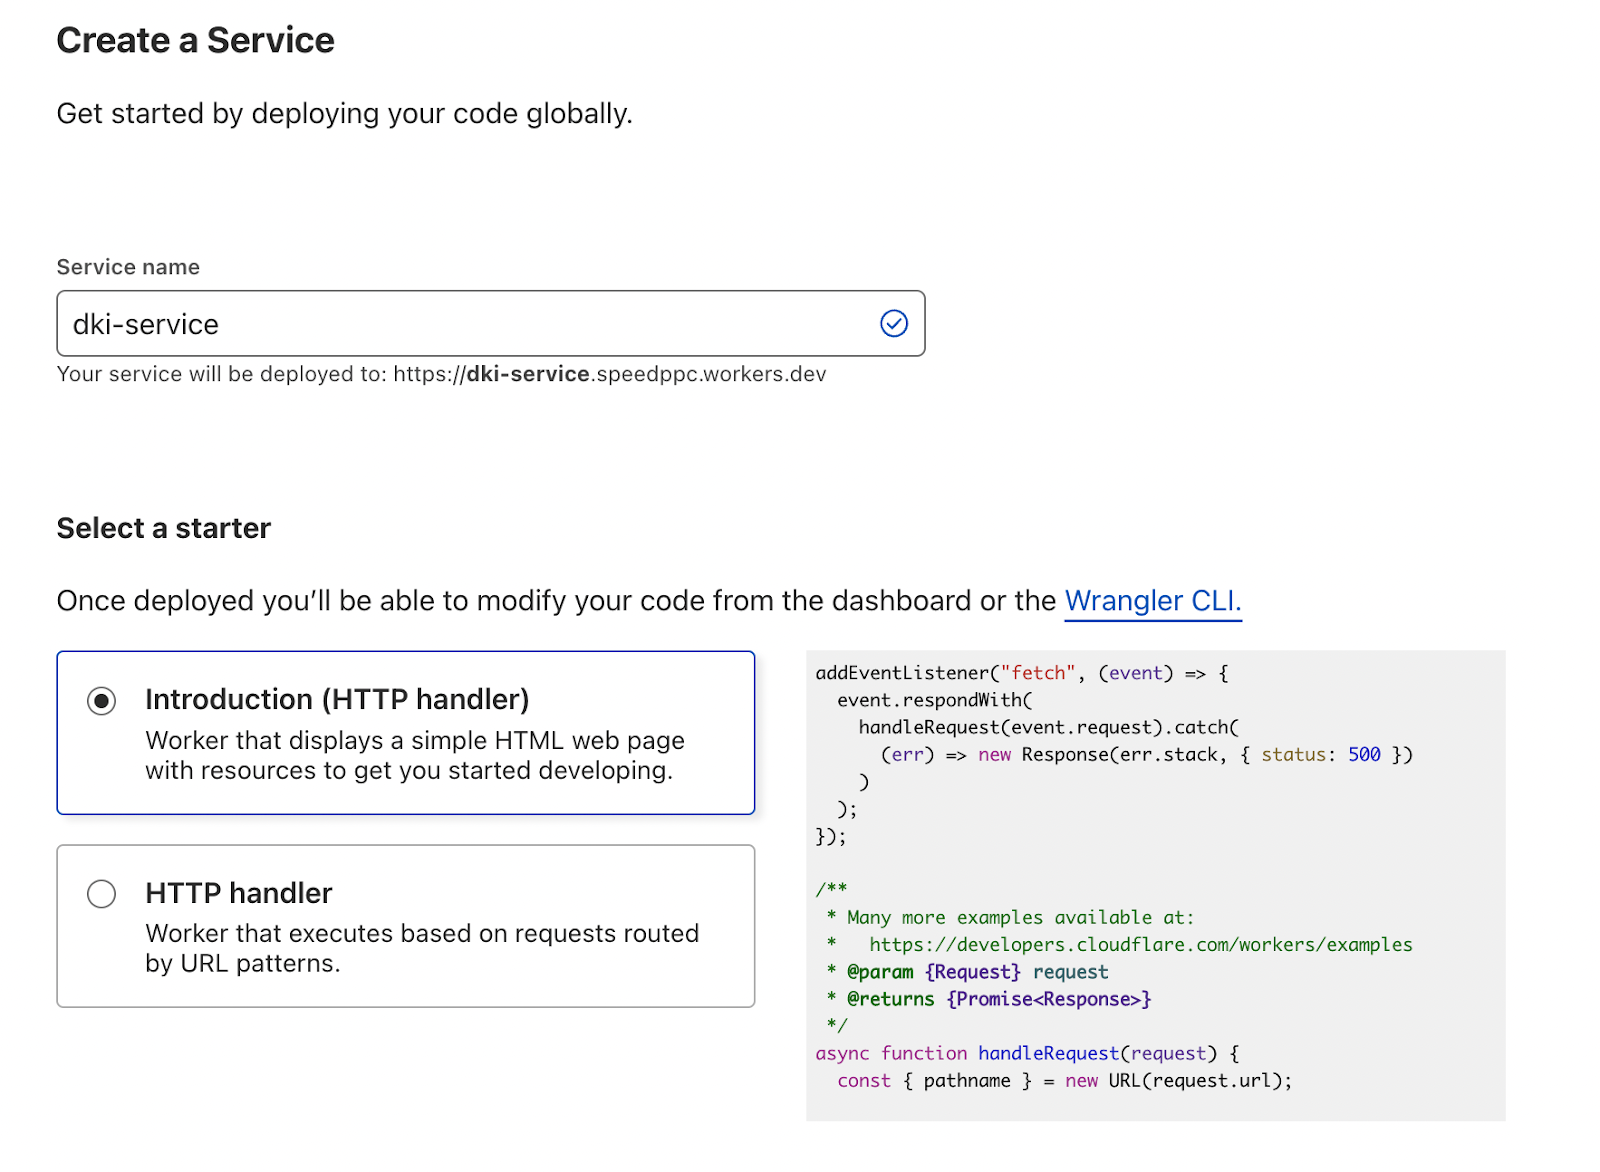
Click "Create Service".

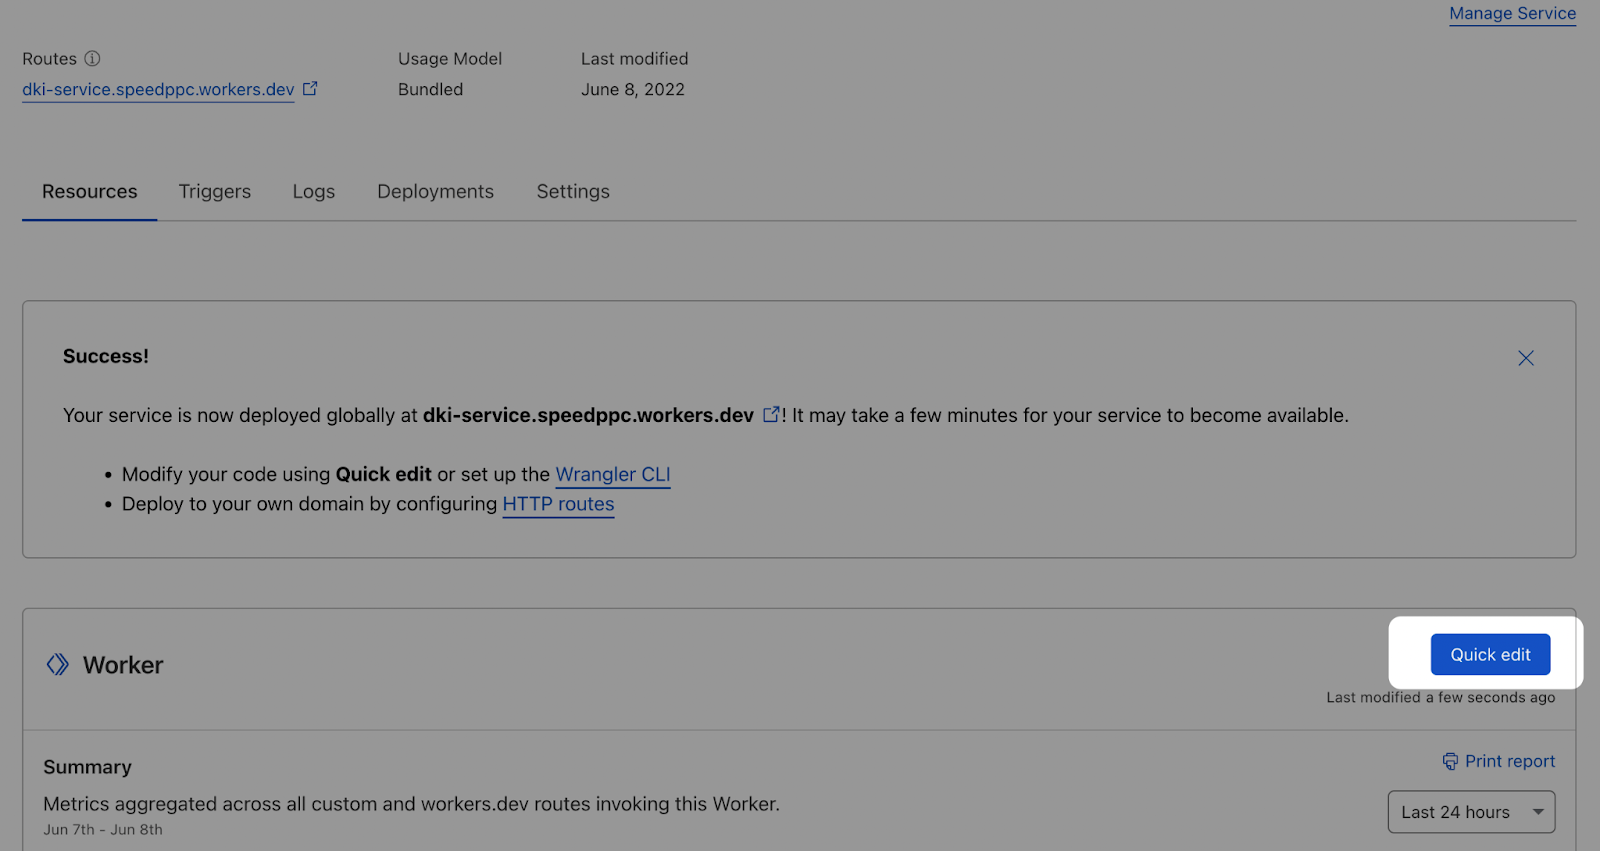
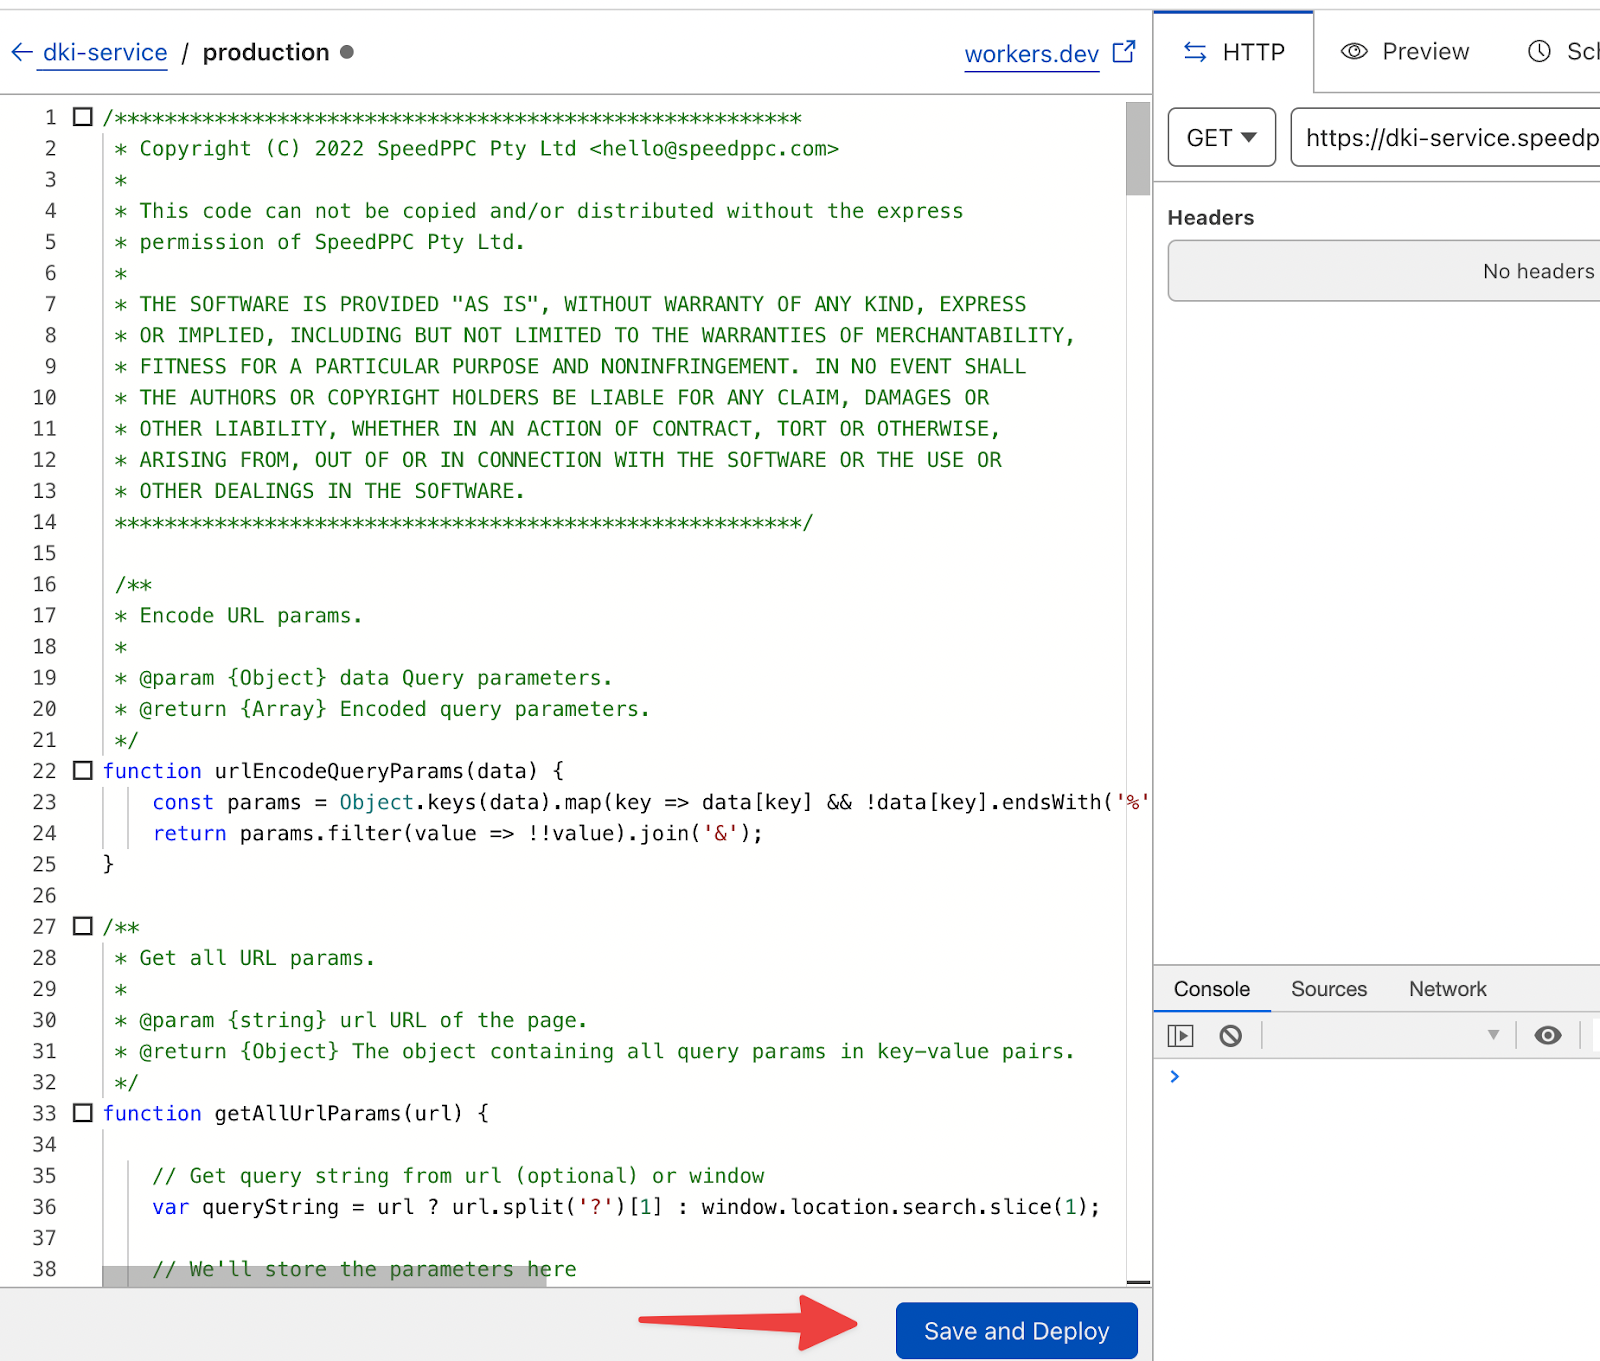
Next, click on the "Quick Edit" button.
Open the Cloudflare-DKI.txt file, paste in the text, and press save and deploy.
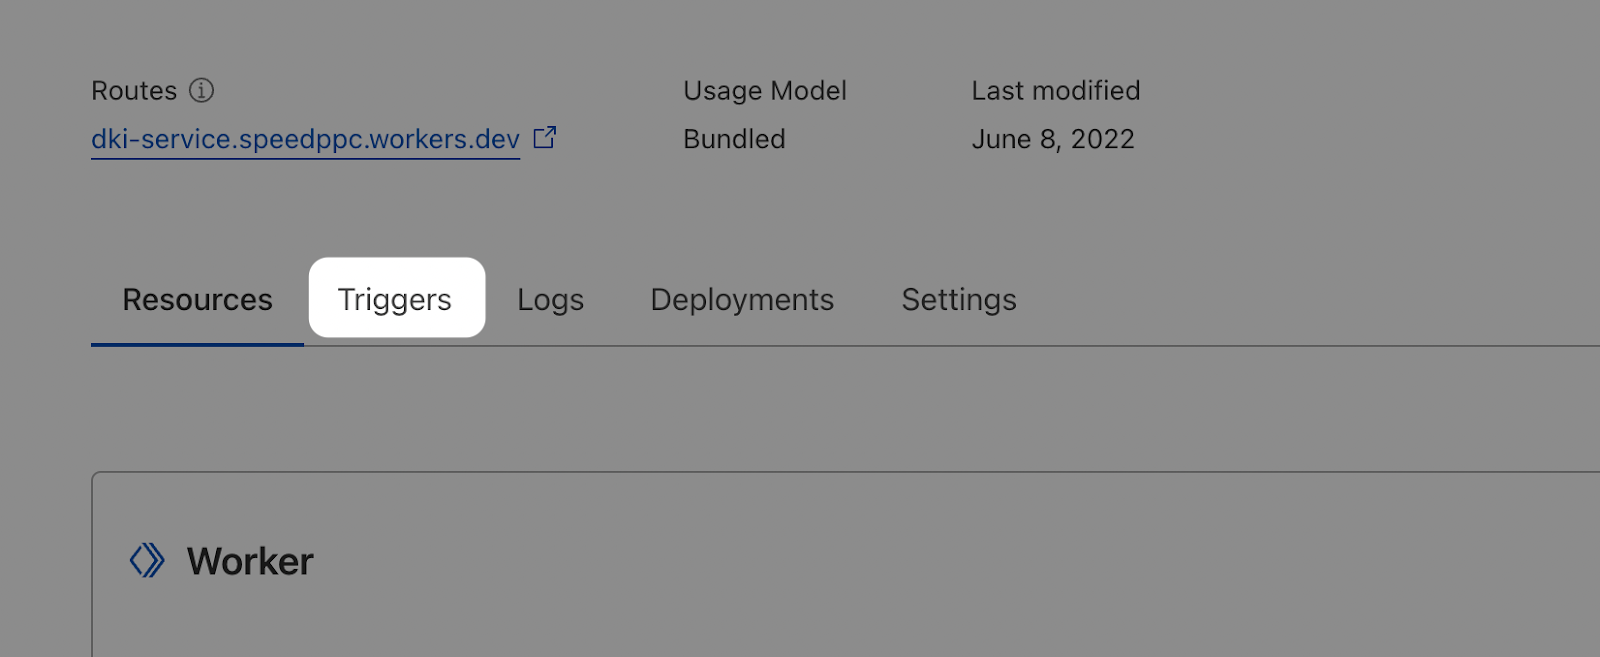
Now, head back to the Worker's main area and go to triggers.
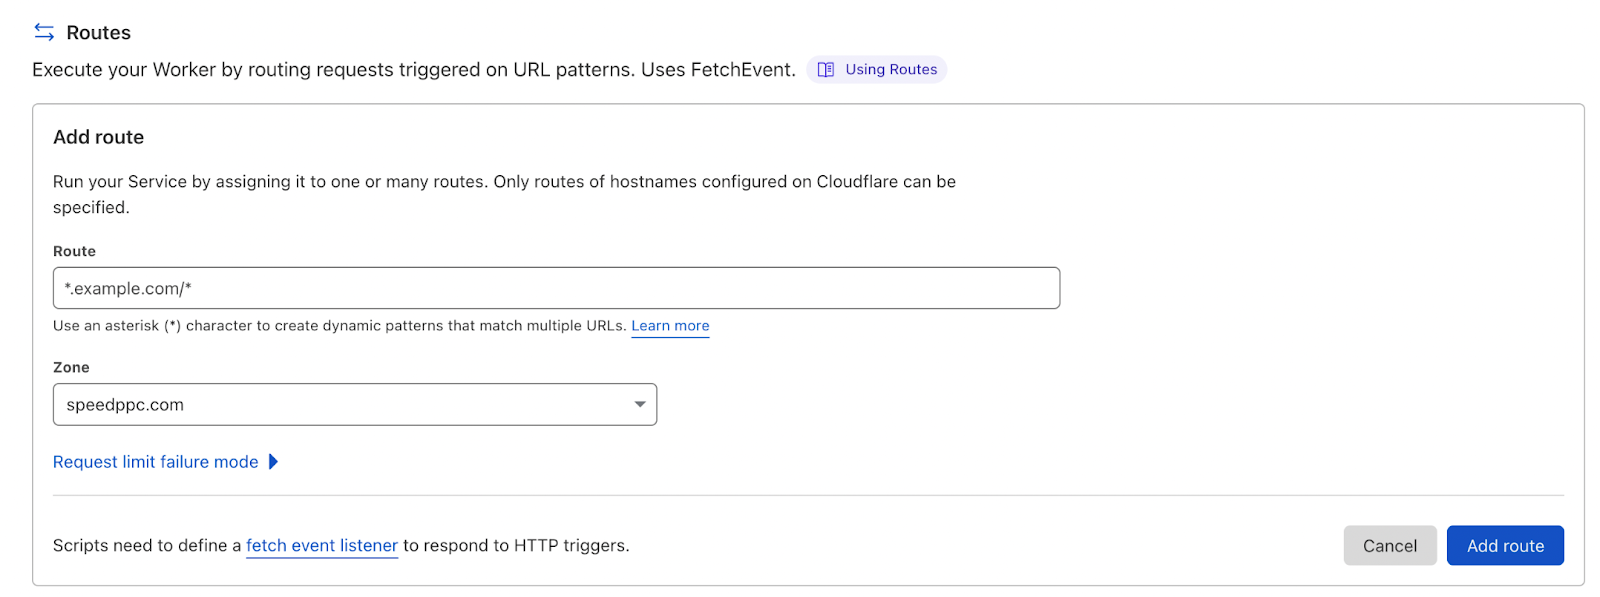
Add Route

Add Route Rule - This should be the page or folder for where the page is that you want to use DKI on. Don’t make it for the whole site, especially if you are using a CMS like WordPress as it will do the DKI in the Admin area.
Insert tokens into the page for transformation.
Here are the options:
[[seed:fallback words]] - No case change
[[Seed:Fallback words]] - Sentence case
[[SEed:Fallback Words]] - Title case
[[SEED:FALLBACK WORDS]] - All CAPS
[[**seed:fallback words]] - Don't transform hyphens to spaces
You would then have: site.com/landingpage/?seed=Dynamically-Inserted-Words
You can use whatever value you want instead of “seed” if you use the same in the URL.